How To Make Sustainable Wallpaper At Home Using Block Printing
Dec 06, 2021 | Montahah Ali


 Making block printing wallpaper is a sustainable choice when using eco-friendly materials and using a sustainable process. By sourcing all the materials that you are going to use locally, you will be able to reduce the carbon footprint and waste that is made to make your wallpaper.
But how can you make your own sustainable wallpaper using block printing at home?
Let’s first start by looking at the origin of block printing wallpaper!
THE EMERGENCE OF BLOCK PRINTING WALLPAPER
Block printing has been around for thousands of years thought to have originated in China but then later on expanded throughout Asia and then the world.
India became the epicentre of block printing and it had a complicated journey to reaching this position.
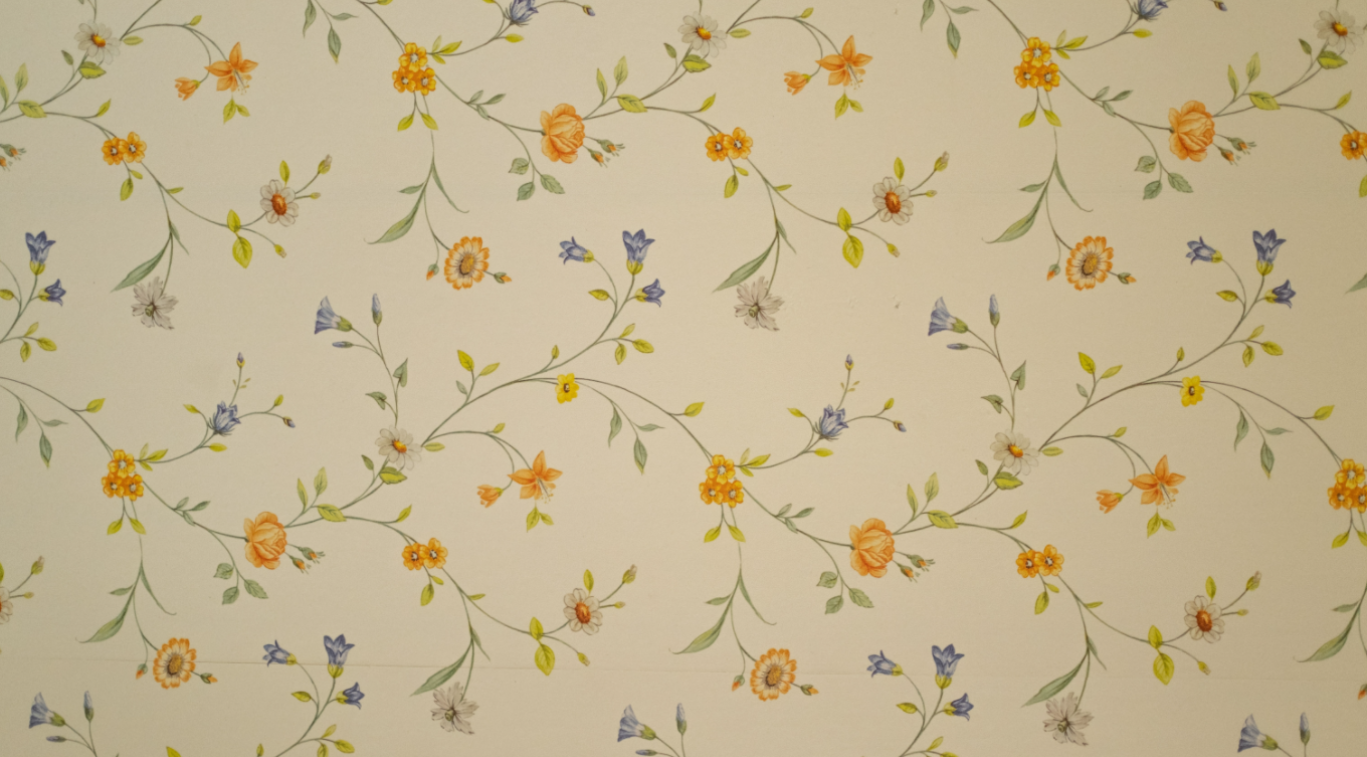
Block printing wallpaper was commonly used to make early wallpaper and it was first manufactured in England in the 16th century. It gained more popularity in the 18th century with Britain becoming the leading wallpaper manufacturer in Europe.
To make hand blocked wallpapers, hand carved blocks are used to print designs onto the paper.
During the 18th century the designs that were used included panoramic views of antique architecture and exotic landscapes.
It is now possible to gather all the materials required and make your own wallpaper at home!
Here’s how to make your own sustainable wallpaper using block printing at home:
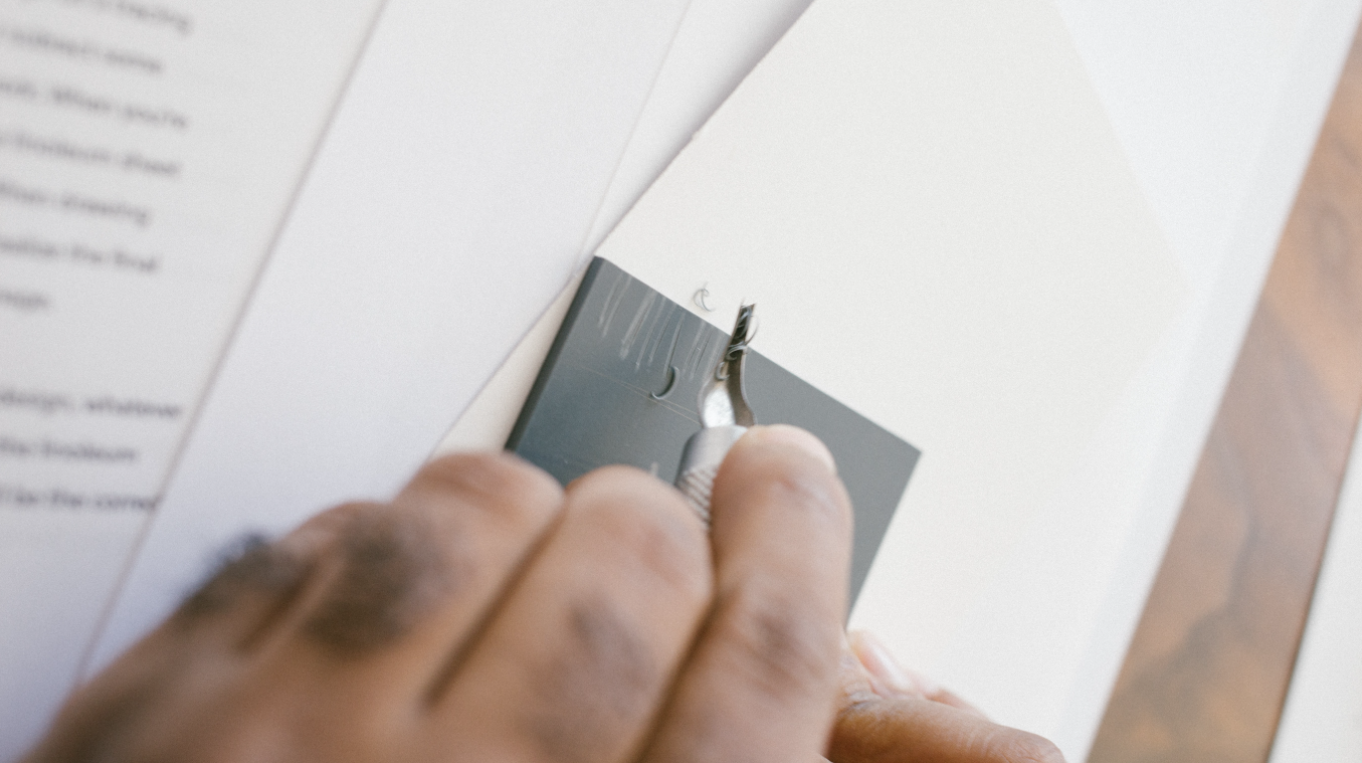
Do a sketch of the design you want

Carve out the pattern you chose on lino
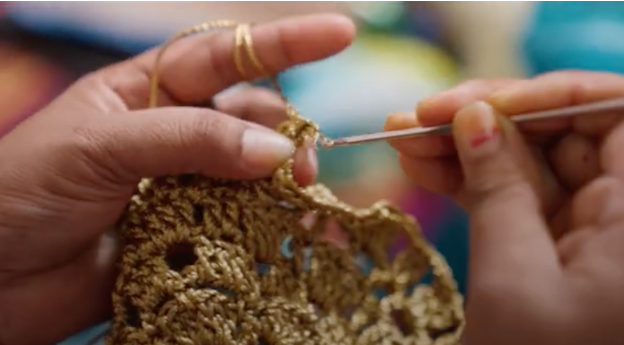
Now once you have picked out your pattern the next step would be to carefully carve this out on lino. You will need a lino cutting tool to do this it is called a speed ball linoleum cutter, which can be purchased in any local DIY stores or crafts store, it can also be purchased online but make sure you ask for eco-friendly packaging when shipping the product this way less plastic will be produced throughout the whole process. Lino can be bought from any local arts supply shop. Most of these materials that you need to make the wallpaper can be found in your local stores that sell arts and crafts materials.
To carve out the pattern onto the lino you will need tracing paper, Patterntrace is an eco-friendly company that makes sustainable tracing paper which can be composted once you’re done using it. They have to ship the product which would use carbon footprint however the products can be composted and the remaining paper can be used for other projects. So, to trace your pattern onto the tracing paper then transfer this onto your lino and trace onto it. Once you take the tracing paper off the lino you can see the lines of your pattern make sure you can see the whole design if you can’t go back in with your pencil and fill in what is missing.
When the design is clear enough to see, you can start carving to do this make sure the U-shaped carving piece is on the tool then hold the handle carefully start carving away from your body make sure you focus on one line at a time. This will take some time since you have to check that each section is carved out properly. If you just want the pattern to be printed on your wallpaper then carefully carve around your design to cut out the background. Do this until you are happy with the way your design looks.
Next you have to test out your design and whether it prints out correctly. There are many brands in the UK that sell eco-friendly and non-toxic paints and inks that you can use for your wallpaper. Lakeland paints is one of the companies that sell eco-friendly paint in the UK so this is one place to check out or try your local paint or DIY stores they will have similar products.
You will need a paint roller to apply the paint or ink onto the lino, this can also be bought from any crafts or DIY store. Try and make sure you buy these from local businesses. Dip your roller in some paint make sure you roll out the excess then apply it onto the lino make sure it covers the whole piece now test out the design on a piece of paper and if you are happy with the way the pattern looks you can start on your wallpaper. If not then go back in with the carving tool and fix or change the areas that you want and try again until you are happy with the design.
Start printing pattern on the wallpaper

Once you are ready to actually print on the wallpaper you can start on that. Look for wallpaper that is eco-friendly, or made from recycled paper. One way to check this is by seeing whether the paper is FSC approved; this will make it easier for you to spot if the paper is actually eco-friendly. This will prevent you from having any toxic chemicals in your wall paper. B&Q have recycled wallpaper lining paper that can be used for this project the name of it is Naturplus.
You can even check local wall paper businesses and see what kind of paper they use to make their products and see if they use recycled paper. If they do you can ask them for a few rolls enough to cover the rooms you will do. When your paper arrives, you can start printing the pattern. Use the method of applying the paint with the roller and make sure it’s a thin layer then line it up carefully and apply some pressure with your hands so that the whole lino presses down onto the paper. Repeat this step until your paper is covered with the design.
Make sure you do that part in sections so that when drying the paper, it’ll be easier to hang. Measure out each section to the length of the wall you are covering so that it is all in the right size. After you are done with the first piece of wallpaper section you have to hang it out to dry to make sure it isn’t touching the floor so you can avoid it from scrunching up.
You can hang it up on a string like when you put your washed laundry on a laundry rack, make sure it is straight otherwise the wallpaper won’t be flat. Repeat this step for each section, then let the paper dry out for around 1 to 2 days. Once it is completely dry you can start to put the paper up onto the walls.
How to put the wallpaper up
To put the wallpaper up you are going to need wallpaper paste. To look for one that is non toxic you can buy one that is made out of methyl cellulose or starch and Earthborn Elements is a brand that makes that kind of adhesive, you will have to make the paste yourself by mixing the water with the powder. You can buy this off Amazon and, again, make sure to check for recyclable and sustainable packaging.
You can also check in your local stores on what eco-friendly or nontoxic glue they have. There are many tutorials on how to apply the paste on your wallpaper and on how to put it up on YouTube so do check that out as it will make it easier for you to understand how to do it. Make sure you’re applying the paste section by section making sure to get the sides and corners.
To apply the paste, you will need a pasting brush, make sure the paper is flat on the table, dip your brush in the glue then start applying in the centre and work your way towards the edges and corners.
Next you need to fold the paper using a concertina fold and repeat this until you get to the end of the sheet. Then you will have to wait for the glue to set into the paper for a minute, whilst making sure between each sheet you wipe down the table to get rid of any excess glue.
After this carefully hold up the sheet the right way by lining the paper against a pencil line that you have measured and made and slowly hang the paper out fold by fold using a paper hanging brush. Smooth out every section and if there is any air bubble, pull the paper back and flatten it out again.
Now repeat this process for every sheet making sure the pattern matches along each piece. It’ll take the wallpaper to dry completely between 2 to 7 days and this depends on the conditions. If it dries in heat it can take longer and shrink the paper so be careful.
Conclusion
Overall when making your sustainable wallpaper, the key factor to remember is taking your time and practising the methods and techniques before actually printing and applying your wallpaper, since you want the end result to be perfect.
So make sure you are watching tutorials and learning the tips and techniques that they offer. Research all the materials and equipment that you will need for this project and do not start until all of it has arrived.
We hope this blog can help you make your own handmade wallpaper!
In the meantime, why not check out this block on Steps To Making Handmade Jewellery (full guide)
Recommended