Steps To Making Handmade Jewellery (Full Guide)
Nov 29, 2021 | Montahah Ali


 Making handmade jewellery allows you to customise and personalise the jewellery the way you want it. It’s a cheaper option than buying expensive jewellery, and it allows you to have the freedom and choice of adding your own style to it.
By learning how to make it yourself you can also start your own jewellery business since you will have the skills and knowledge on how to make jewellery by hand. With these simple techniques and tips you will be able to make a range of jewellery pieces such as necklaces, bracelets, earrings and more. So here is a guide on how to make handmade jewellery:
Making handmade jewellery allows you to customise and personalise the jewellery the way you want it. It’s a cheaper option than buying expensive jewellery, and it allows you to have the freedom and choice of adding your own style to it.
By learning how to make it yourself you can also start your own jewellery business since you will have the skills and knowledge on how to make jewellery by hand. With these simple techniques and tips you will be able to make a range of jewellery pieces such as necklaces, bracelets, earrings and more. So here is a guide on how to make handmade jewellery:
Gather all the materials and equipment you need
The first step is to gather all the materials and equipment you need to make the jewellery. The basic tools that you need to make jewellery are the following:
Wire cutters
Verity of pliers, make sure you have a range because you will need a certain plier for a certain task- these are some that you will need: round nose plier, flat nose plier crimping tool plier.
Practice wire, so you can test and practice shaping the wire before attempting to use the expensive one.
Peg boards for bending wire
Metal ruler that measures in both centimetres and inches
Tailors tape measure
Bead organiser with variety of glass beads
Beading cord or thread
Memory wire
Big eye beading needle
Assorted clasps
Assorted ear wires
Crimp beads
Ruler or tape measure
Strong adhesive
These are the tools you will need to make the jewellery, you can buy them in your local crafts store and ask them what essential items you need to make jewellery because they will be able to spot things that you might have missed. If you can't go to the store and buy them, you can find these materials and tools online.
You could consider the following jewellery kits that have the basics that you need to make the jewellery:
Make sure you look through what they give before purchasing these kits since everything that is listed may not be in them and you will have to get them separately.
2. Find the type of jewellery you want to make
The next step would be to pick out a specific piece of jewellery that you want to make. There is a variety of jewellery to make such as necklaces, bracelets, earrings etc, that have many materials that can be made out of such as beads, resin, metal wire etc.
You should pick out a specific look and style that you want which means picking out the material and designs beforehand. Look online for inspiration on what kind of design and style you want your jewellery to have. Pick out a few and keep them saved or draw out the specific designs you want onto a paper.
3. Know the standard measurements for each type of jewellery
For each type of jewellery, you will need to know the standard measurements. The following table shows the average. You can use this to measure your jewellery according to the style and size you would like it to be.
3. Ensure you have all the tools you need before starting
Next you should buy a jewellery kit, this will help keep things organised and make it easy to access in the jewellery making process. Some things that you will need to make your jewellery are beads, jewellery wire in sizes 18, 20 and 22 the best size for beginners will be 20, clasps and closures and jump rings.
These are things you will also need in order to make your jewellery so make sure you purchase these; you can find these items in any local crafts store. Once you have all the tools and material you need to make your jewellery you can get started. Have all the materials organised in your kit before you start.
4. Learn jewellery making techniques
Once you have everything that you need then you will have to learn some basic jewellery making techniques and skills.
Learning and practicing beforehand will help you gain common skills so you won’t make any mistakes when making the actual jewellery.
To learn these basic skills, you can go on YouTube and see tutorials on how to open jump rings, cutting wire, wire working, using jigs and pegs there more but these are just a few of the basics you need to know. Take your time and practice these and once you're ready or feel more confident you can start on the actual projects.
Here is a video on some basic skills to learn before starting on your actual jewellery.
5. Start making your jewellery
When you have learnt the basic skills then you can start making your jewellery. Here is how you make different types of jewellery.
How to make a bracelet
Start off by making a beaded bracelet its is an easy way to get the hang of making jewellery here is how you make them:
To make this bracelet you will need a beading wire, wire cutters, closing clasp, jump ring crimp beads. Make sure you gather these items before you start. This just keeps everything organised and easier for you to access.
The first thing you will need to do is start making the bracelet. Take some of the wire out but do not cut it yet keep it on a spool. Now start placing your bead onto the string make sure you’re putting them in the order of how you want the design to look. Put the beads onto the string until you are happy with the length.
Next measure out the length of your hand with a tailor’s tape measure, once it measures out the use of that measurement and align it against the bracelet making sure to keep some room on either end for the clasp and jump ring and then cut it to the correct size.
Then you will have to add a crimp and a jump ring to the end of your bracelet making sure to leave some room at the end of the wire. Next you take the tag end of the wire and you thread it back through the end crimp bead, the jump ring needs to be dangling on the wire loop.
To secure the bracelet, keep threading the wire through the rest of the beads until the jump ring is pulled tight against the wire, then using the crimping pliers clamp down on the crimp bead and secure the crimp bead.
Now here are some things you need to check to make sure the bracelet is perfect. Make sure you trim away any excess wire that is near the crimp bead to prevent yourself from being poked. Now do this on both sides. Add a clasp to one of the ends of the jump rings using pliers to twist and open the ring then feed the clasp onto the ring, then close the jump ring and connect the bracelet back together.
This method can be used to make a necklace using a longer piece of wire and some more beads.
Here is a video on how to make this style of bracelet so you can get a better understanding of how to make this bracelet.
How to make earrings
A simple way to start making earrings is making a crystal or pearl one here is how to make them:
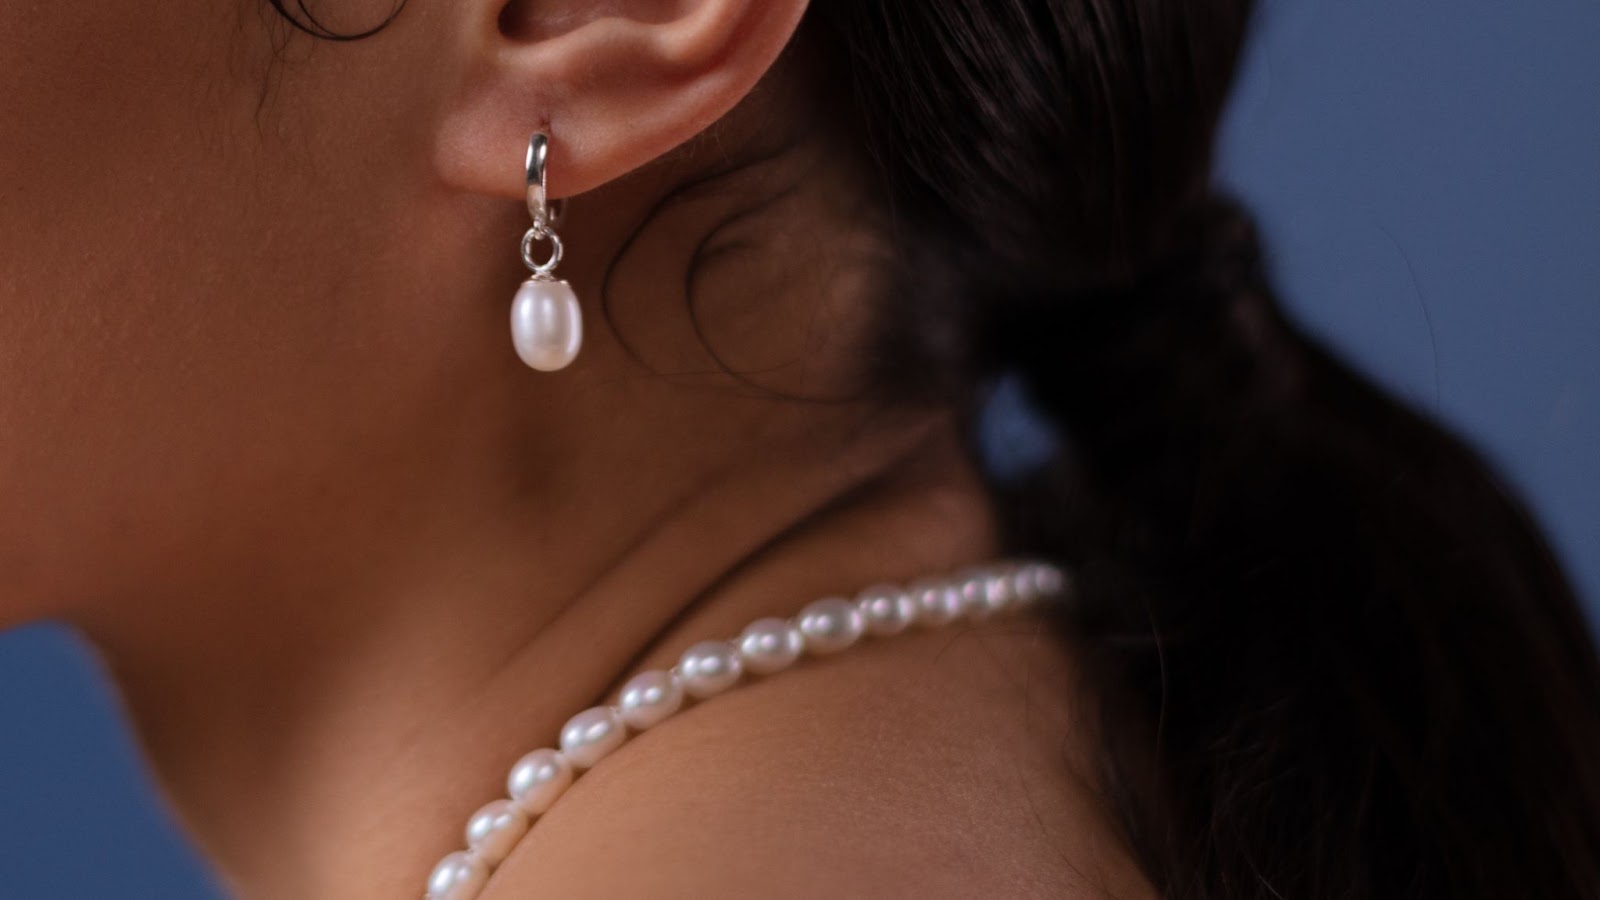
To make these types of earrings you need two crystals, two jump rings and two earring findings to join these pieces together you will need a set of pliers to help open and close the jewellery pieces.
Start off by using your pliers to open up the two jump rings then feed the crystals into the jump rings through the holes that are in the charms. Throughout the whole process of making these earrings make sure that the crystal is facing the right side because once you close up the jump ring and try the earring on it should be facing the correct way. If not then you will have to reopen it and turn the crystal around.
When the crystals are on the jump ring correctly then you will have to slide in the earring findings onto the jump’s rings. The jump ring should be able to hold the jump ring and crystals and have the earring findings hanging off. Next use the pliers to close and secure the jump rings.
Here is a video on how to make an earring similar to this, it shows the basic guide on how to make something similar to the earring you're going to make.
How to make a ring
These are the steps on how to make a beaded ring, this is the simplest ring style to learn for a beginner. Here is how you make them:
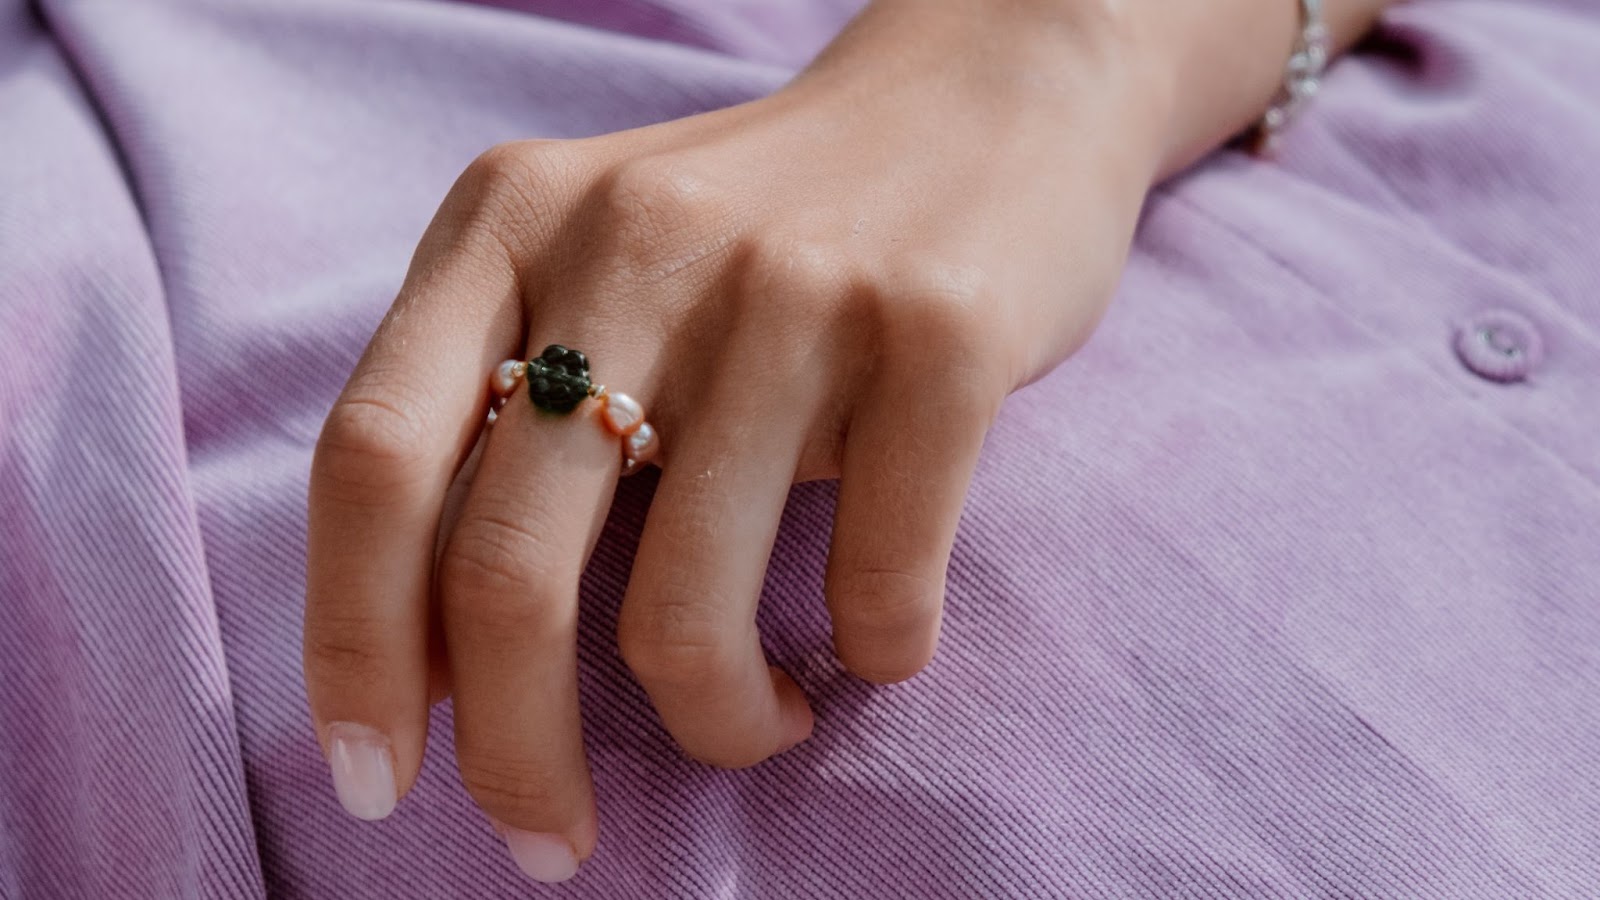
To make a beaded ring you will need some small beads, pick out any coloured or patterned beads, a nylon fishing line and some glue
First pick out the pattern you want the ring to be in this way when making the ring the design doesn’t get messed up. Now feed the beads through the string while it's on the spool. Do this until there are enough beads on the strings to fit around your finger.
Measure the finger you want the ring to fit on and then align this with the ring and cut to size to keep some excess on each end. Then get each and together tie a knot and make two knots to make sure it is secure. Next get your glue and apply it onto the knot that you made, check if it covers around the whole knot if not add more glue. Once it is dry you can cut off the excess string if done correctly then there shouldn’t be a big gap or a gap at all.
Here is a video on how to make these simple rings, follow this as a guide so you have a better understanding of how to make the rings.
CONCLUSION
In conclusion, the best way to learn how to make these handmade jewellery would be by looking at tutorials on YouTube so you can see each step clearly. There are so many styles to make and you can pick what suits you the best or what you would like to make for people.
Take your time on learning the basic techniques and methods and once you have that mastered then you can move on and make more difficult patterns and designs. It will get easier to make jewellery once you have the hang of making your first pieces, which can then lead you to starting your own business if you want to sell your designs.
Recommended